Necro Shard painting guide
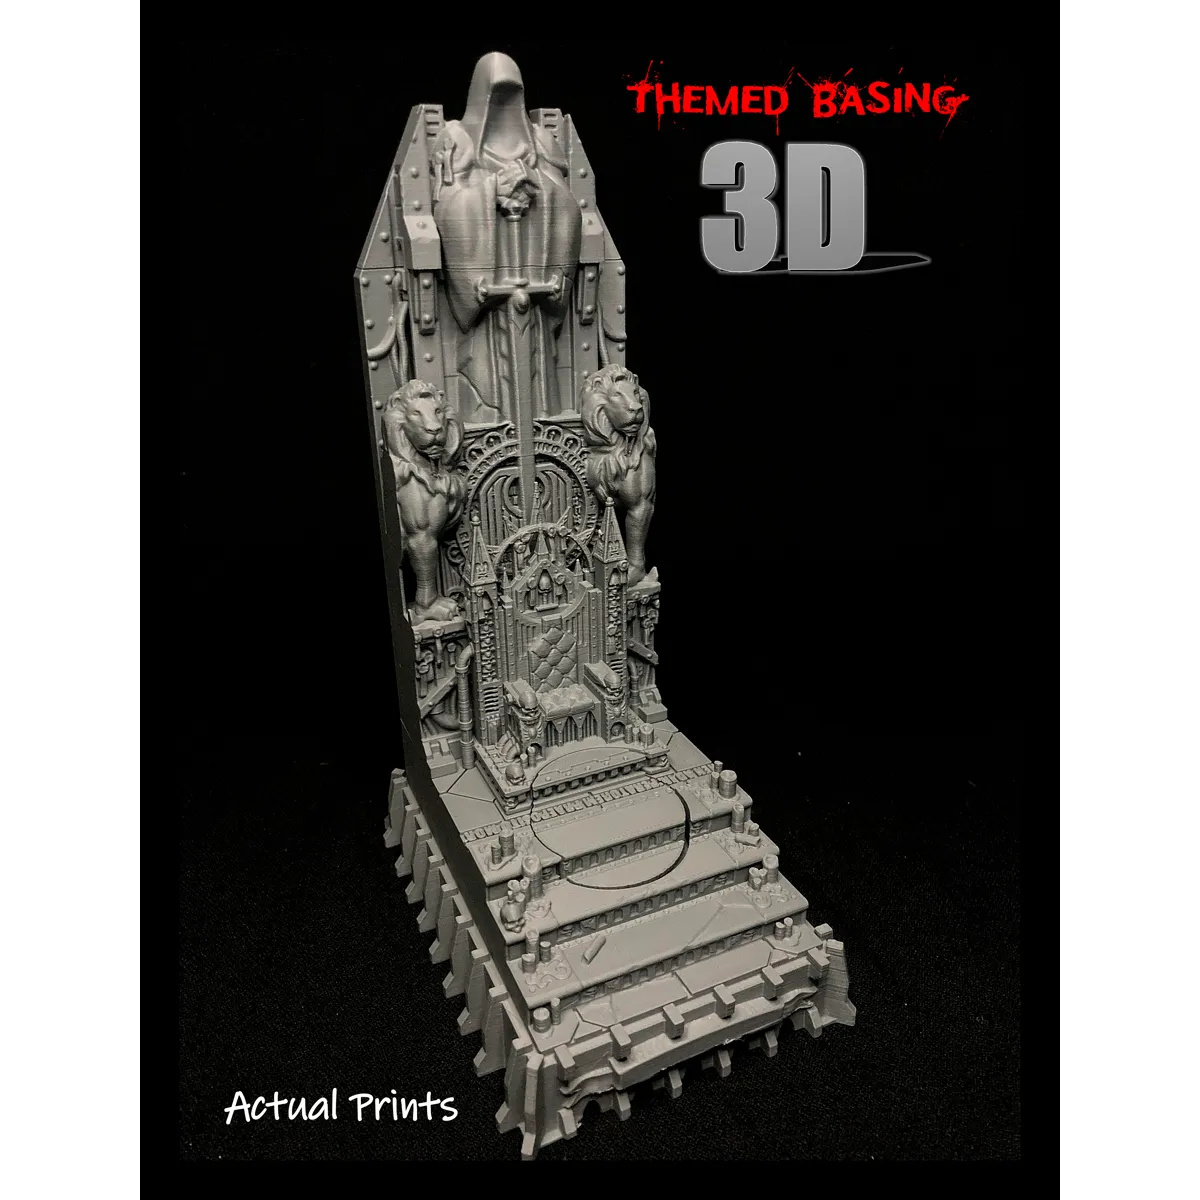
You can view our Necro Shard bases
HERE

Hello there!
With all the new miniatures for the Necrons, it’s a great time to share my take on the new bases from Dark Art Miniatures.
I went for a shiny and glowy tomb base but with hints of it’s ancient age.
The weathering of the base is optional so it’s up to you if you want a clean looking tomb base or an
ancient one.
You’ll need for this task:
- An airbrush
- A small brush (size 0)
- Black Primer
- Gunmetal grey (vallejo metal colors)
- Chrome metal (vallejo air)
- Retributor armour (citadel)
- Coelia Greenshade (citadel)
- Gold Yellow (vallejo air)
- Fluo green (vallejo)
- White
- Mournfang brown (vallejo)
- Pigment natural sienna (vallejo)
PREPARATION (Airbrush)
1. Prime the base in black
2. Define the direction the model will be facing and focus on the front of each slab with white.
This way, we have a gradiant with a darker back and a brighter front. It adds more coolness and depth
to the model !
METAL AND GOLD (Airbrush and brush)

3. After you primed the base, apply a basecoat of Gunmetal grey on the whole base. (It’ll be
faster with an airbrush.)

4. Airbrush the front of the base with chrome metal like in the step 2 of the PREPARATION.
This way the back will be darker and the front brighter.

5 and 6. Paint the runes in retributor armour. Reinforce the shadows by airbrushing Coelia Greenshade on the second part of the base that’s not highlighted with chrome.

7. With a brush, add some Coelia Greenshade in the recesses.

8. Finish the metal and gold by edge highlighting chrome metal on everything!

GLOWY XENOS SYMBOLS (Airbrush and brush)
9. Paint the center of the symbols in white. This will help with the next colours that are quite bright. Be carefull to leave the coelia we put earlier (step 7) so we can obtain a better contrast and reinforce the effect.

10. Airbrush Gold yellow following the white lines. Why yellow? Because it’s a colour that will make the fluo green pop even more!

11. Airbrush fluo green like you did with the yellow. Now you have a nice osl and you could
stop there if you want...
12. But to make these symbols glow even more draw a thin line of white in the center of each
symbol pattern and finish it with some gloss varnish.
WEATHERING (Brush)
13.Take some Mournfang brown and thin it on a palet. Once it looks like a shade apply it in the
recesses. It’ll look like some dirt and rust accumulated with the ages. You can also add some dots and
stains on the corner and edges to reinforce this effect.
14. Finally, draw some random thin lines and dots on the metal with chrome metal to simulate a
bit of damage on the surface. You can even add a bit of pigment powder (natural sienna works well)
where you put most of the stains and dirt with the mournfang.
Don’t forget to paint the trim of the base of course ! I love black but you could go for the legendary
green scorpion if you want to !
And voilà !!!
Once you know the process, it’s actually quite quick and you can base your whole army in one afternoon.
Guide written by Yael Guery